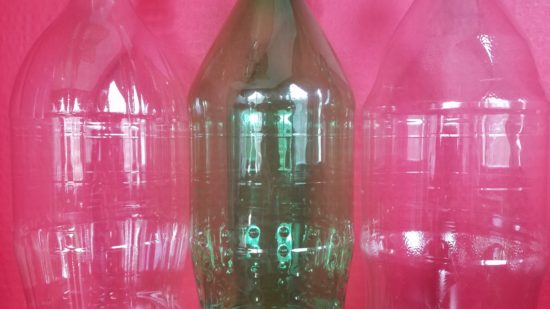
In the coming year, Rock Hill Coca-Cola Bottling Company will be bringing you several DIY projects using your empty bottles. We know that you’re saving all your Coke, Sprite, Barq’s, Fanta, Diet Coke, Dr Pepper, and Mello Yello bottles. At the very least, we hope that you’re recycling, but you’ll see loads of projects for up-cycling for yourself.
One of the biggest questions that people have before they begin a project using plastic bottles is how to get it clean and ready to use. Probably the trickiest part is removing the label. How do you get the label and glue off without destroying the bottle or spending all day doing it? If you’ll follow these super-simple steps, you can save yourself tons of time and a lot of hassle. Then all your empty plastic bottles will be clean and ready for the next delightful project.
What You’ll Need
- hot water
- oil
- rubbing alcohol
- dish soap
- clean cloth/paper towel
How to Clean Your Empty Bottles
Step 1: Be Patient
Do not try to remove the label yet! If you try to take the label off of the empty bottle before completing the next steps, you’ll drive yourself crazy with frustration. Be patient!
Step 2: Use Hot Water
Rinse out the empty bottles. Fill the rinsed bottles with hot water from your sink. You’ll want the water as hot as you can get it. The hot water will soften the glue holding the label to the bottle.
Step 3: Wait
This step is probably the hardest. You need to give the hot water 5 to 7 minutes to soften the glue. If you don’t give it enough time, the glue will not have softened enough. Wait too long, and the glue will stiffen up again. Don’t rush it, but do pay attention to the temperature of the water in the bottles.
Step 4: Peel the Label
Find the edge of the label and gently pull it. If it comes loose fairly easily, you’re ready to remove it completely; if it starts to tear, give it a bit longer, then try again. When all goes well, you’ll be able to remove the label in one piece. For a torn label, proceed to the next step.
Step 5: Remove the Fragments
To get the last bits of label off of your empty bottles, use your fingernail. Don’t use anything harder. Scratching at the label remnants with a knife will only scratch the plastic.
Step 6: Remove the Glue
After you have removed all of the label, you’ll see that some glue remains at the seam. Not to worry. It’ll come off easily. Using any kind of light oil (like baby oil or vegetable oil) and a soft cloth, gently rub the glue. After a few seconds, the oil will dissolve the softened glue. Wipe the bottle clean. You might need to repeat this step a few times for really stubborn glue.
Step 7: Remove the Ink
On some empty bottles you might see production information printed in ink. These marks will wipe away with a small amount of rubbing alcohol.
Step 8: Remove Residues
After you have removed the label, the glue, and the ink, you’ll need to wash away any residues. Pour the warm water from the bottle, then use a gentle dish soap and soft cloth or sponge. Rinse the bottle in clean water, then allow to dry completely.
Project Ready
Once your bottles are label and glue-free, you’re ready to start work on your projects. Check back with Rock Hill Coca-Cola Bottling Company for a new project each month. For some past projects, check out our Halloween Luminaries and Snowflakes.