Summer is right around the corner, and soon enough all the kids in York County and Rock Hill will be let loose from classes. The freedom of summer break can soon give way to rank boredom, though, so all those kids are going to need something to do to occupy their warm weather hours. Rock Hill has more than enough to keep summer breakers busy for a while, but sooner or later, families will run out of things to do. And what if a weather front comes through and covers Rock Hill in rain for several days? This simple decoupage Coke bottle project will keep the kids busy for a long time.
“Decoupage” is the art of cutting paper and decorating objects with it. The term comes from the French découper, which means “cut out.” Basically, you cut shapes and/or images from paper, then apply them to an object using some sort of glue. For this project, you’ll use magazines, a 2-liter Coca-Cola product bottle, and Mod Podge. The result will be a fun and useful piece of art. There are certainly worse ways for kids to spend an oppressively hot summer afternoon.
What You’ll Need
- several magazines with lots of pictures
- 2-liter bottles
- Mod Podge
- fairly wide paintbrushes
- craft knife
How to Make Decoupage Coke Bottles
Clean the Bottles
Start by thoroughly cleaning the bottles using the instructions here. Make sure the bottles are completely dry before moving on to the next step. Any Coca-Cola product bottle will work for this project. Color doesn’t matter, as the bottle will be covered in paper.
Cut the Top
Once the bottles are dry, carefully cut the top part of the bottle. Obviously, the closer to the top you cut, the taller the finished product. Try to make the cut as smooth as possible. An adult should probably complete this step for the kids.
Cut Out Your Images
Look through the magazines to find images, shapes, colors, and textures that you find interesting. Carefully cut them out. You could create a theme based on the content of the images or you could focus on color or texture. Let the cut outs you choose reflect you.
Smaller images tend to work better on the round surfaces of the bottles.
Adhere the Cut Outs
Working in small areas, apply the Mod Podge to the bottle. Add a cut out and press into place. Apply a little more Mod Podge to the surface of the cut out.
Repeat and Repeat
Keep applying your cutouts in the method described above until the bottle is covered. Remember to overlap your cut outs so that none of the bottle is visible. At the top edge, fold a bit of the image over and apply Mod Podge to the inside lip of the bottle.
Allow to Dry
Let the whole decoupage bottle dry. Depending on how thick your Mod Podge is, this step might take several hours, even overnight.
Coat the Whole Bottle
Once the first application of Mod Podge has dried completely, apply another layer to the whole bottle. Try to make this layer smooth and even. Allow the second coat to dry.
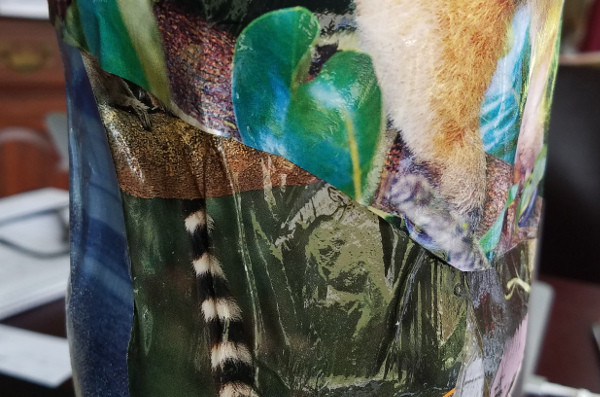
Enjoy Your Beautiful Decoupage Bottle
When the bottle has completely dried, you’re ready to use it. It could just be decorative on its own, or you could use it for flowers, pens, kitchen utensils…whatever!