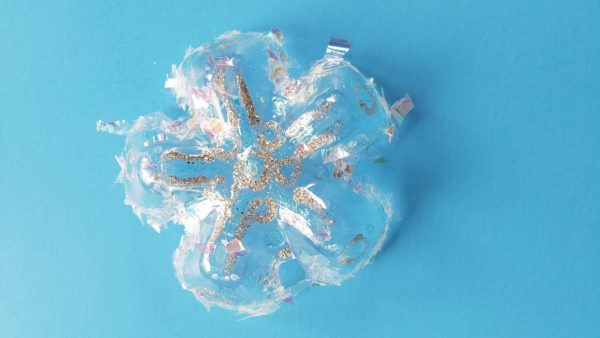
Sure everyone’s dreaming of a white Christmas, but in Rock Hill, what are the odds? Snow seldom comes, even if everyone is wishing with all their heart. So what to do then? If the snow won’t come to Rock Hill, we’ll just have to make some snowflakes of our own!
Using the plastic bottles that you’ve been saving each week and after your big holiday gatherings, you can make a little snowfall of your own. These snowflakes won’t melt, and look great hanging in the windows or on your Christmas tree.
What You’ll Need
- clear plastic bottles from your favorite Coca-Cola products
- scissors/craft knife
- glue pen
- glitter glue
- glitter
- ribbon
Directions
Rinse and Dry
Start by rinsing the bottles and letting them dry out. Once they are dry, you can begin cutting them.
Make the Cut
Using your scissors or sharp craft knife, carefully cut the bottle near the bottom. You want the cut roughly one inch from the bottom. To insure an even, level cut all the way around, use a marker to draw a line around the bottle.
Save the Top Part
Once you have removed the bottoms of the bottles, be sure to save the top part. More interesting and fun projects are on the way, and you’ll be able to make use of the other parts then. If you don’t want to store the pieces because you know you’ll have plenty of empty bottles when the time comes, be sure to recycle.
Round Out the Flake
Again carefully using scissors or your craft knife, trim the bottom of the bottle so that the “arms” of the snowflake are more pronounced. Follow the indentations, cutting farther towards the base.
Sparkle it Up
You want your snowflakes to sparkle, so don’t skimp on the glitter in this step. Use a variety of glitters for a different effect on each flake. After all, every snowflake is unique!
Work in steps, adding a different color or texture each time. Allow the glue to dry completely before moving on to another glitter.
Let It Snow
After each snowflake has completely dried, add a ribbon. Now you’re ready to let it snow!

